
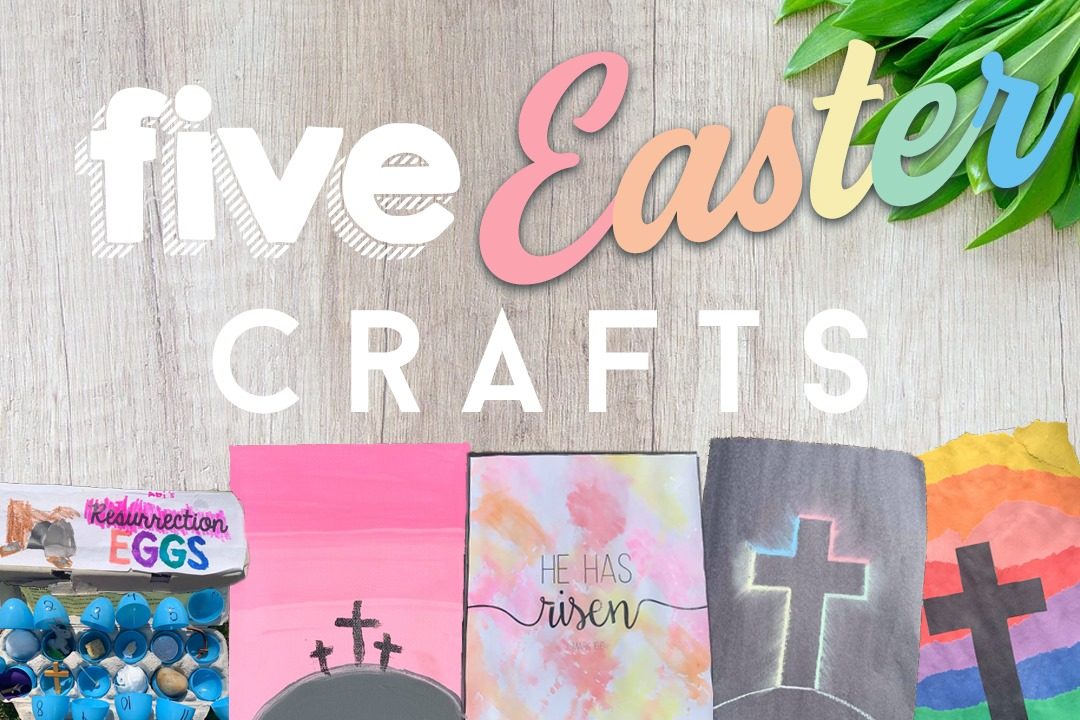
Intentional. Easy. Inexpensive.
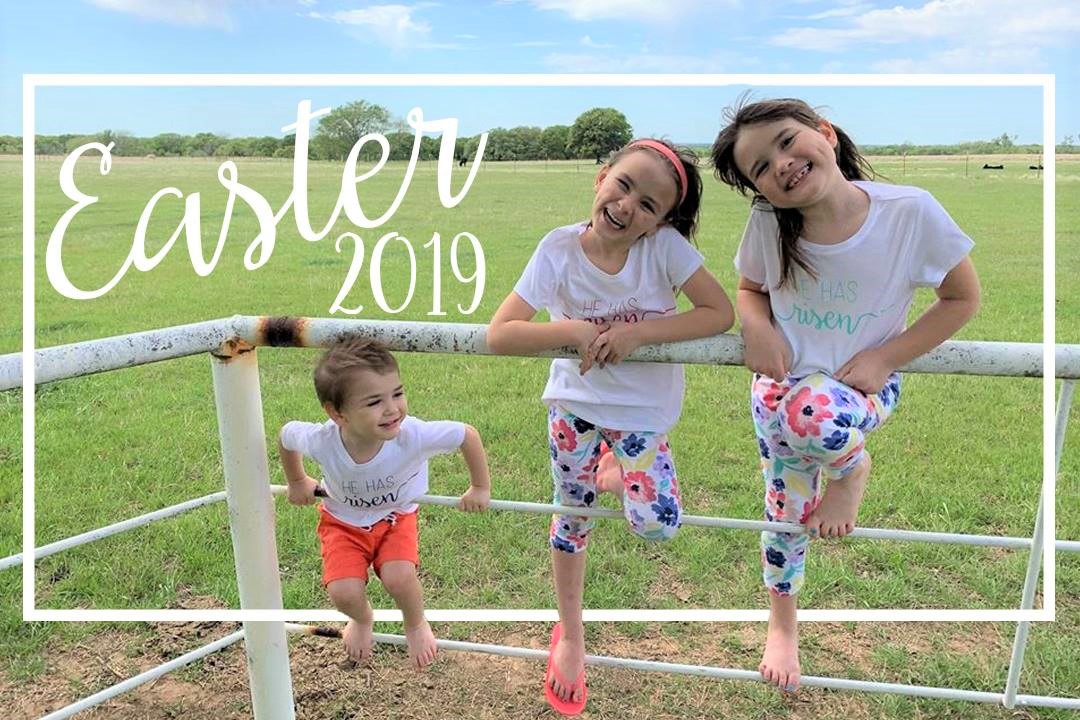
Easter is an important holiday for our family. However, I have found it difficult to find crafts and activities that embody what this time of the year really means for us: the Cross. For my husband and I, we are intentionally working hard against distractions with bunnies, eggs, chocolates, home decor and instead focusing on activities where the crucifixion and the resurrection are the focal points.
I’ve decided to create my own ideas with supplies that are either around the home or can be purchased for $1! I’m sharing with you crafts we have done with our kids this week to focus on the real meaning of Easter. As your kiddos are making these, grab an Easter book or a Children’s Bible and read to them the Easter story. Ask questions. Provide insight. This can lead to a great learning and bonding time for your family.
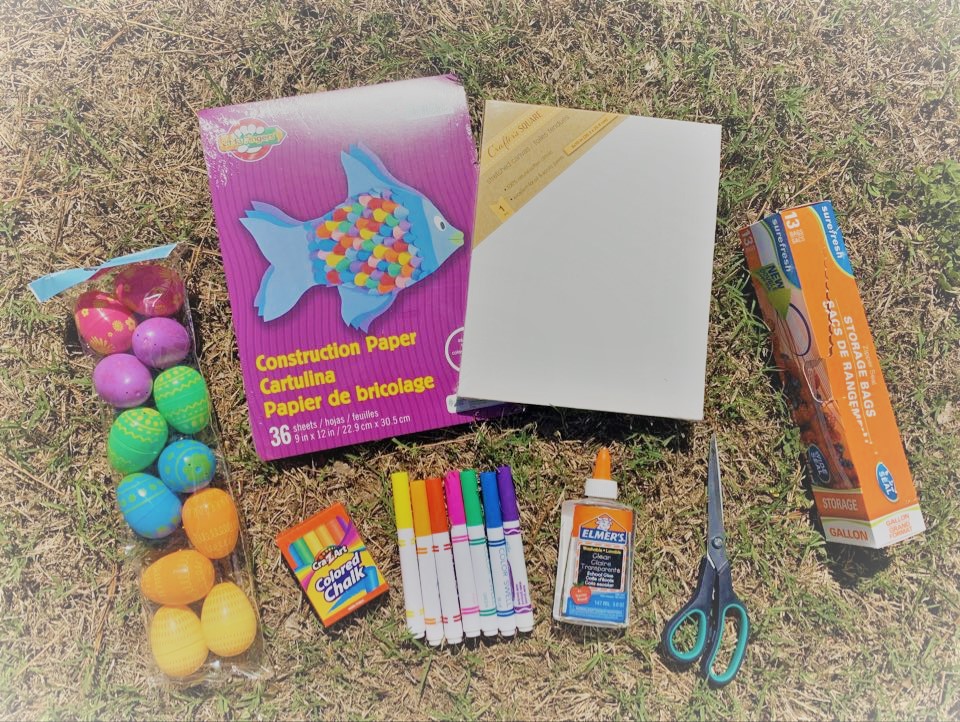
These are the supplies you will need to make all five crafts!
Make one or make them all this weekend!
All of the items for it can be found at the Dollar Tree if you do not have them at home. They are inexpensive, they take almost zero prep time, and they won’t take up your whole day.
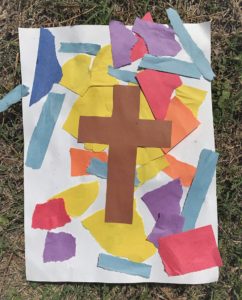
1. Easter Cross Silhouette:
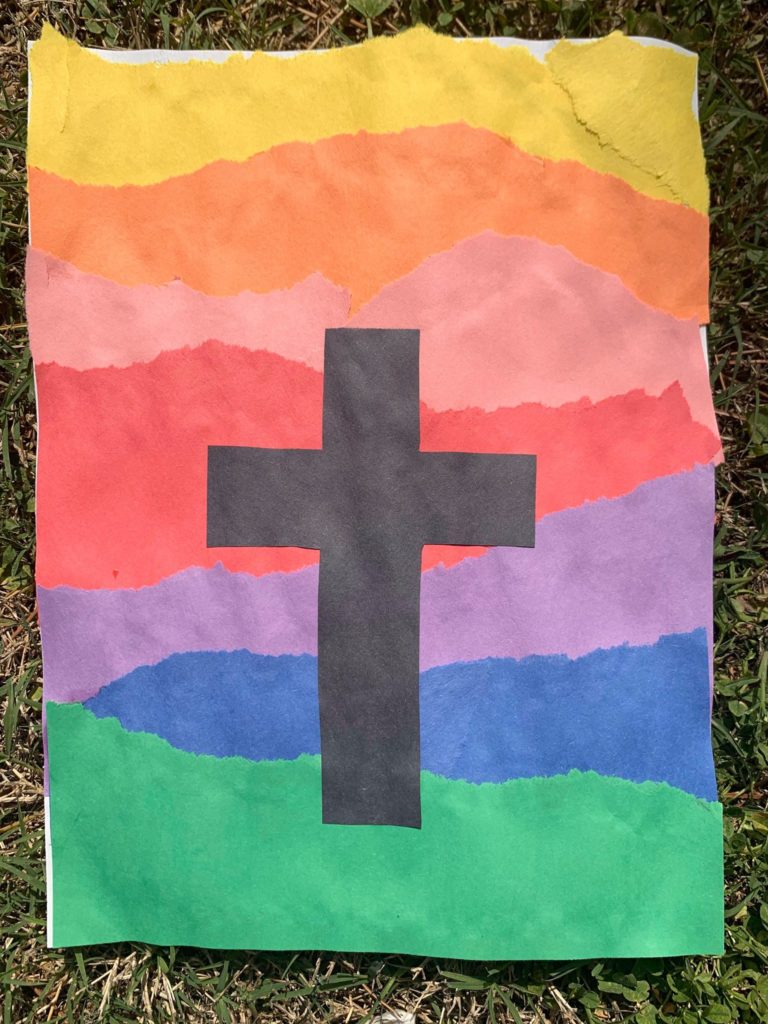
This idea is very versatile and can be adjusted according to age. It’s easy and you only need construction paper and glue! Kids can create their own patterns, layers, and textures. Our 9 year old wanted to cut her pieces up, but our 3 year old boy loved to make a mess and rip them apart. We let him have at it! There’s no need for perfection. It was a joy to watch the kids create them and make it all by themselves.
2. Easter Chalk Cross:
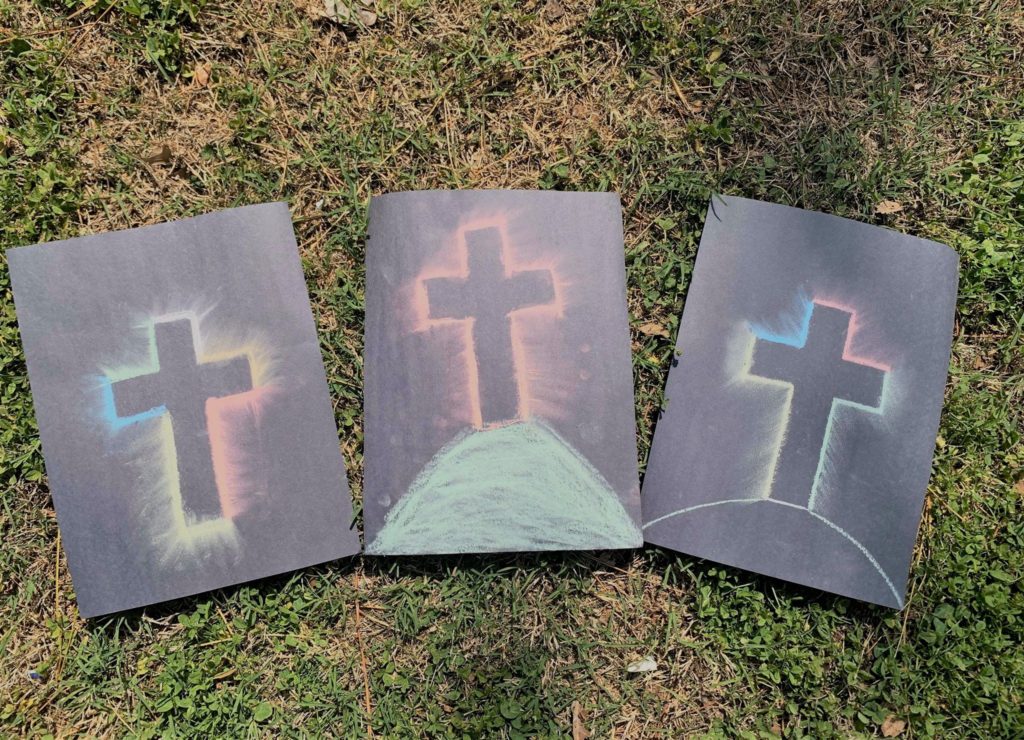
If you would like a template for a cross to cut and trace, there’s an easy trick to get just the right shape. We went on google and typed “Cross Outline”. Printed it off, cut it out, and traced around it 🙂 Then the kids used their finger to spread the chalk around for a fun shadowy effect.
3. Easter Canvas Painting:
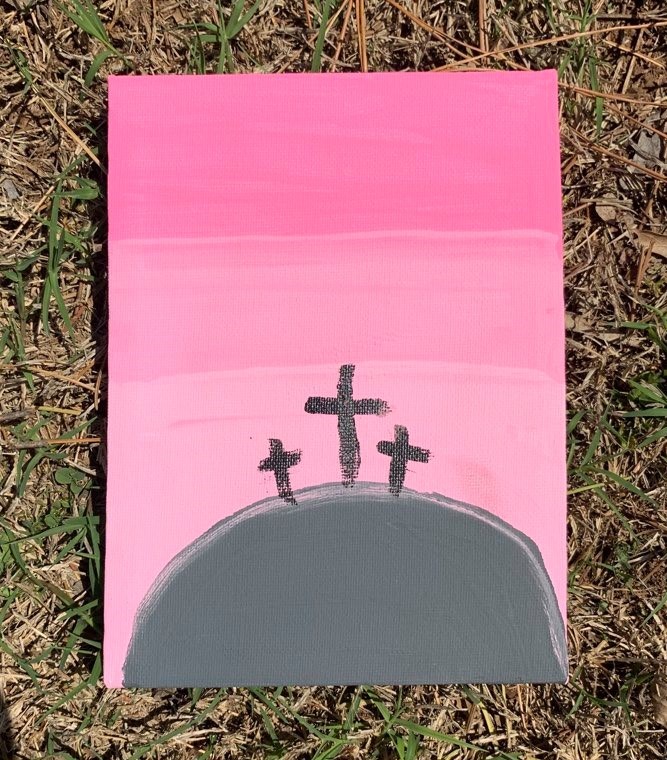
There is no wrong color for this. Use whatever paint color(s) you have on hand. We used acrylic paint. Our 9 year old made 6 of these. Each canvas with a different color background and we sent them off to our East Coast family. For the ombre background effect, she took her base color and added a little bit of white to each layer to make it lighter each time. That’s all! It’s one color! You can paint the cross, the tomb, or the empty tomb. I’d love to see your version of it!
4. Easter Water Color Effect:
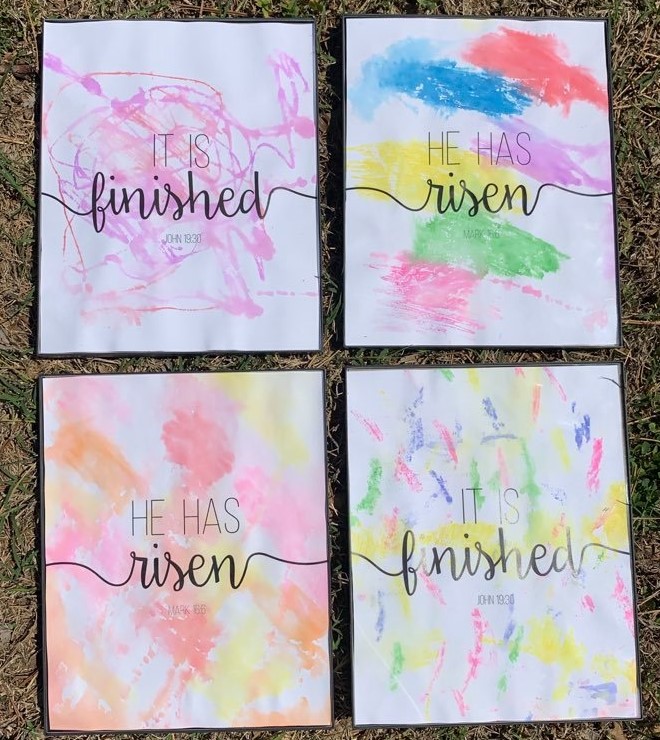
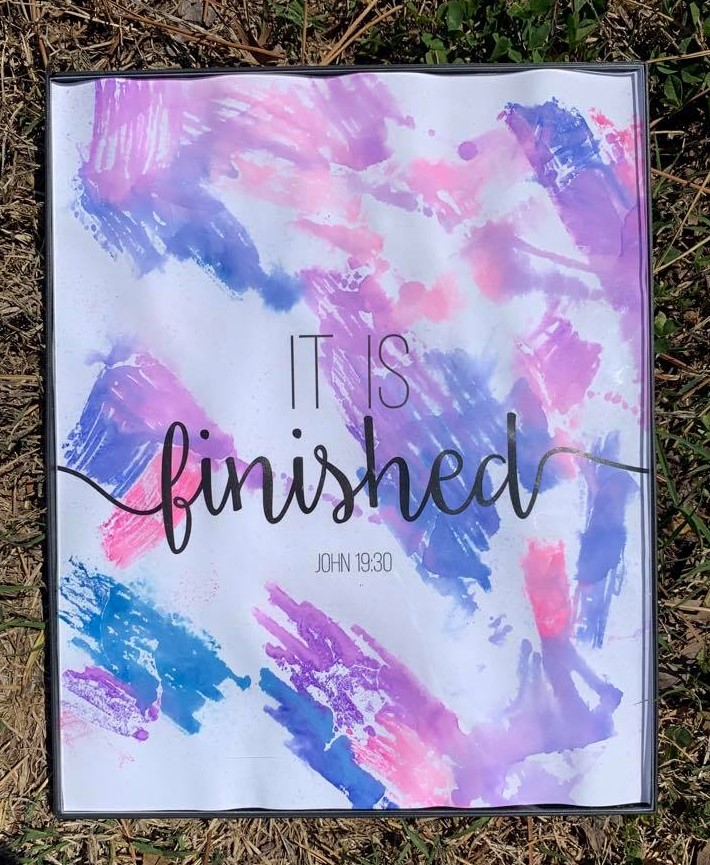
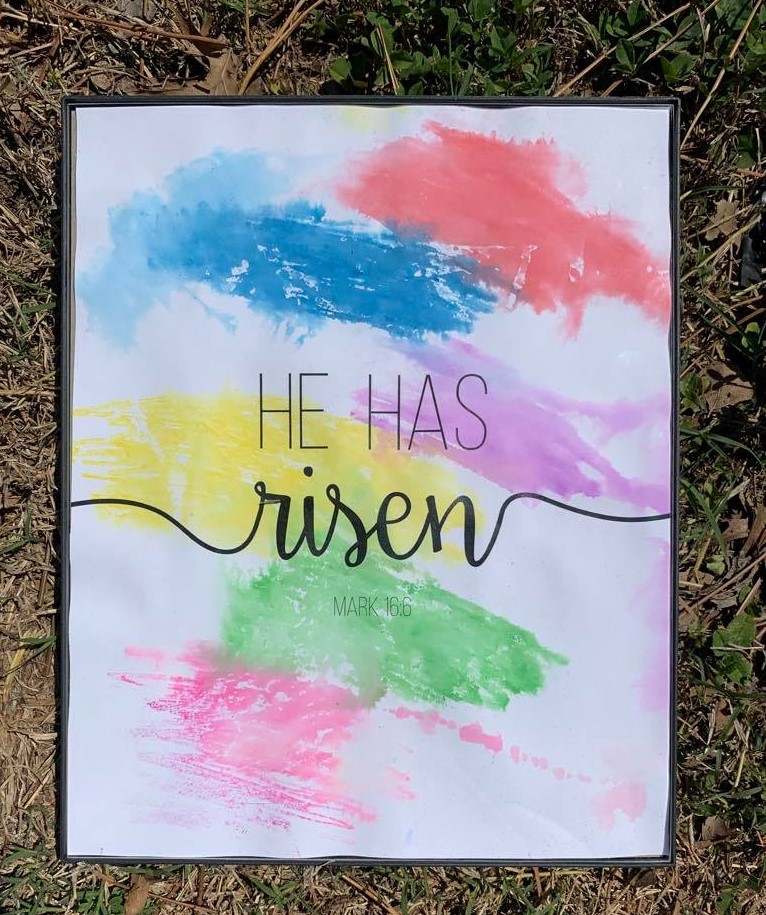
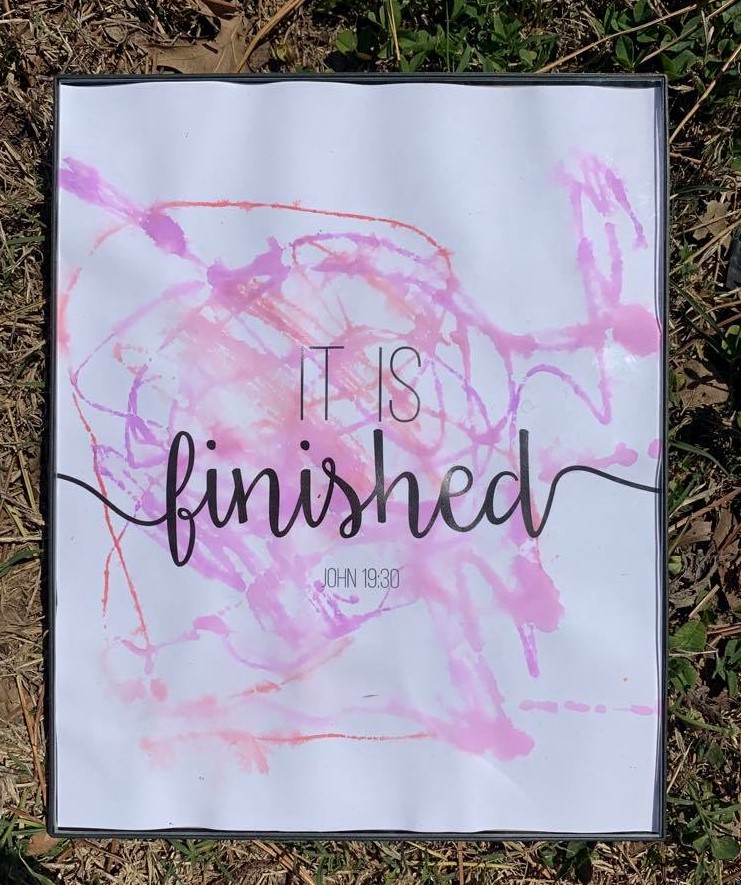
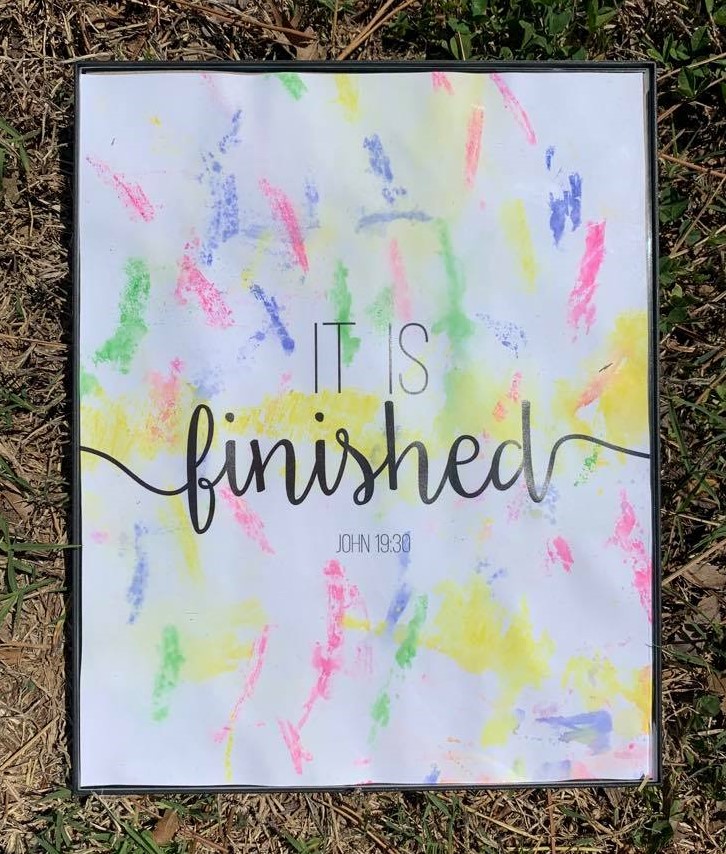
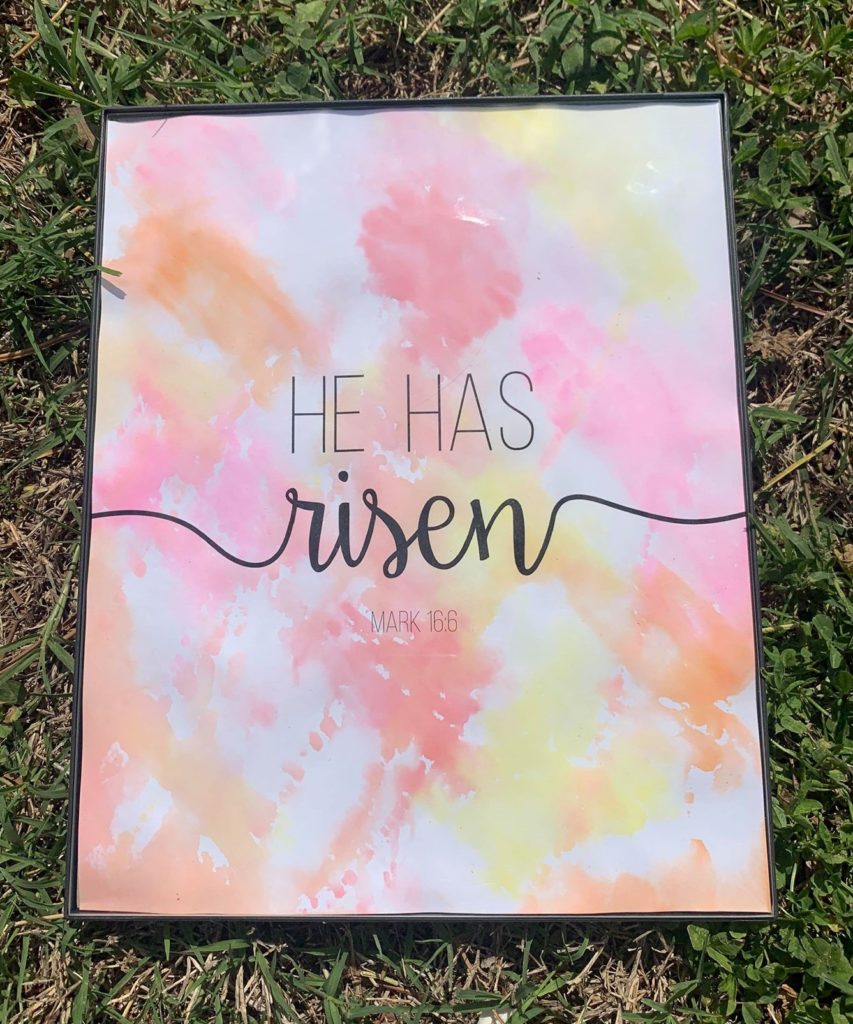
This is the one that the kids may need some parental help depending on their age. The project is not difficult but it does has a few steps and may get messy.
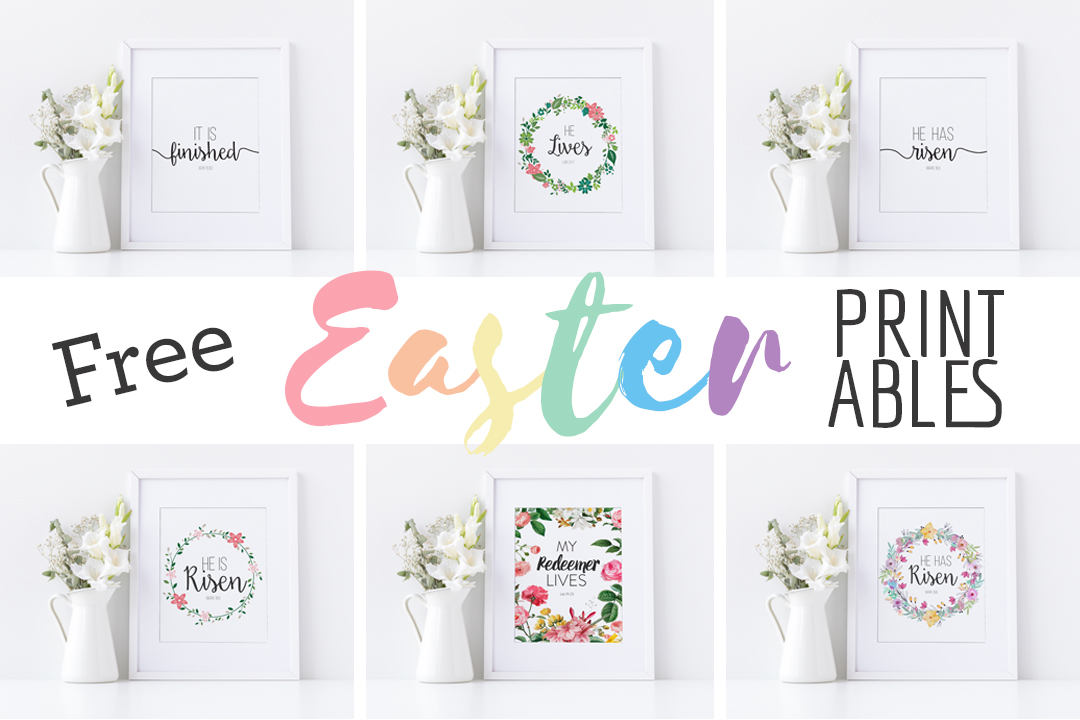
First, you can print off one of our free black and white printables we created last year for free here
Then, you place a gallon size bag over the picture.
Third, you draw with markers all over the zip-lock bag.
Next, you mist spray water onto the colored side of the zip lock bag.
Finally, you flip the gallon bag over the painting and use your fingers to spread the color around. Done! We have the watercolor effect painting!
You’ll need to leave it to dry. Once it’s dry, if it has curled up a bit, flip it upside down and stack a heavy book on top overnight.
These are great to experiment and make your own!
5. Easter Resurrection Eggs:

Each child in our church’s Kids Ministry made their own resurrection eggs last year and I have kept ours. If we hadn’t we would have made one ourselves. The great thing about this craft is you do not have to go buy all the materials, you can recreate and retell the story using the items from around your home! You can even ask the kids to play a part in the scavenger hunt! If you can’t find something… have the child draw a picture of that item!

Here are suggestions for how to fill those eggs:
- Day 1: cotton ball with perfume to represent Mary washing Jesus’ feet with expensive perfume
- Day 2: small leaf to represent Jesus’ triumphal entry on Palm Sunday
- Day 3: a crouton, a cracker, or a small toy cup to represent the last supper
- Day 4: praying hands to represent Jesus praying in the Garden of Gethsemane
- Day 5: real or fake coins to represent that Jesus was sold for 30 pieces of silver
- Day 6: piece of leather or thick fabric to represent Jesus being whipped and beaten
- Day 7: purple fabric and/or plant thorn to represent soldiers mocking Jesus by dressing him like a King and putting the crowns or thorn on His head.
- Day 8: pieces of wood or popsicle sticks to represent Jesus carrying His own cross
- Day 9: nails to represent Jesus nailed to the cross
- Day 10: a piece of white linen or cloth to represent Jesus’ body wrapped in clean linen and buried in the tomb
- Day 11: rock or stone to represent the stone placed in front of Jesus’ tomb (which was later rolled away by an angel)
- Day 12: nothing to represent that Jesus rose from the dead and the tomb was empty!
Other variations:
– one die to represent the soldiers casting lots for Jesus’ clothes
– a toothpick to represent the spear piercing Jesus’ side
I hope you enjoy crafting with intention! If you make any of these ideas, please share with me.
I’d love to see your creations!
No Comments Found